
Disclosure: This page contains affiliate links,
How to Start a Profitable Blog Course Day one.
I’m so excited you are here!
You’re officially taking the first step toward starting a blog, which—spoiler alert—could totally change your life.
Starting a blog changed my life. Because of this blog, my husband and I have gone from being poor newlyweds (literally on food stamps, in over $100,000 of student loan debt) to living a life we never thought possible. We thought we would never be able to travel or start a family.
Now, our life truly feels like a dream; we are living in a house we would never have been able to afford before this blog; I’m driving my dream mom SUV, and we get to actually go on vacations, which is a luxury I thought I would never get.
Because blogging has changed my life so much, I feel like I have to teach it to other people. You can’t keep something this good to yourself.
Over the next three days, I’m going to teach you how to start a blog from scratch, no prior experience is necessary!
Ready to take your blog to the next level faster?
Want the perfect head-start? Grab my Launch Your Blog Toolkit (only $47 $27 for the next three days!) with:
My foolproof "Perfect Blog Name" cheat sheet
Your first 10 blog posts mapped out
Ready-to-use blog setup checklist
Monetization Strategies That Work for Beginners
The "Blog Like a CEO" Mindset Guide
And so much more!
It’s a comprehensive resource to help you skip past the frustrating beginner phase and start your blog like a pro.
This toolkit contains everything I wish I had when I started my blog.
Click here to grab the Launch Your Blog Toolkit for just $27
(offer valid for the next 3 days only)
What do you need to start a blog?
Starting a blog is easier than you may think. You don’t truly need much to start a blog.
Here is what you need to start a blog:
A name for your blog (what your .com is going to be)
15-20 minutes to actually get it started.
An email address.
Let’s Start your blog:
First, we are going to pick out your domain name.
Then we are going to set up your blog. You can follow this post or follow the video after the next section.
Finally, I’m going to give you a preview of what’s to come tomorrow.
Picking the name for your blog:
One thing I recommend if you are going to talk about many things is that you give your website a name that works with all the topics for instance like naming your website after yourself If you don't want to use your first and last name, or it isn't available then I like domain names like:
The(topic your talking about)life.com
Ex: TheDIYlife.com
LifeWithThe(your last name)s.com
Ex: LifeWithTheStanfords.com
(your first name)sjourneywith(your topic).com
Ex: TaylorsJourneyWithBlogging.com
(topic 1)(topic 2)and(topic 3).com
Ex: FoodFantisesandVacations.com
Other Tips for coming up with a domain name:
Use a .com people are used to .com’s
Don’t misspell words if you can help it, because if you tell someone you run into my website is “candy cane dot com,” they won’t think to type in “kandeekayne.com” when they get home.
Use something simple that covers everything; I started with smartandsimplistic.com because that name can cover anything I want to talk about.
Actually starting your blog:
To start a blog, you need hosting. A hosting company is the people that keep your blog online and install the software necessary for you to blog.
Having a hosting company makes blogging super easy. You literally just sign up, and you're ready to get started blogging. In the following steps, I’m going to teach you about hosting and signing up for hosting so that by the end of the next few minutes, you actually have a blog!
First, you are going to want to click here to open Bluehost in a new tab; this is going to be where you sign up for a blog.
Click here to open bluehost + get discount
Here is the step-by-step process in a guide with photos:
By now, in another tab, you should have a page that looks like the image below; if you don’t, you can click here to open that page

You will go ahead and click “Get started,” which will take you to a page where you can choose a hosting plan. I recommend getting the “basic” plan because it really comes with everything you need to start a profitable blog. It is what I used for my blog.
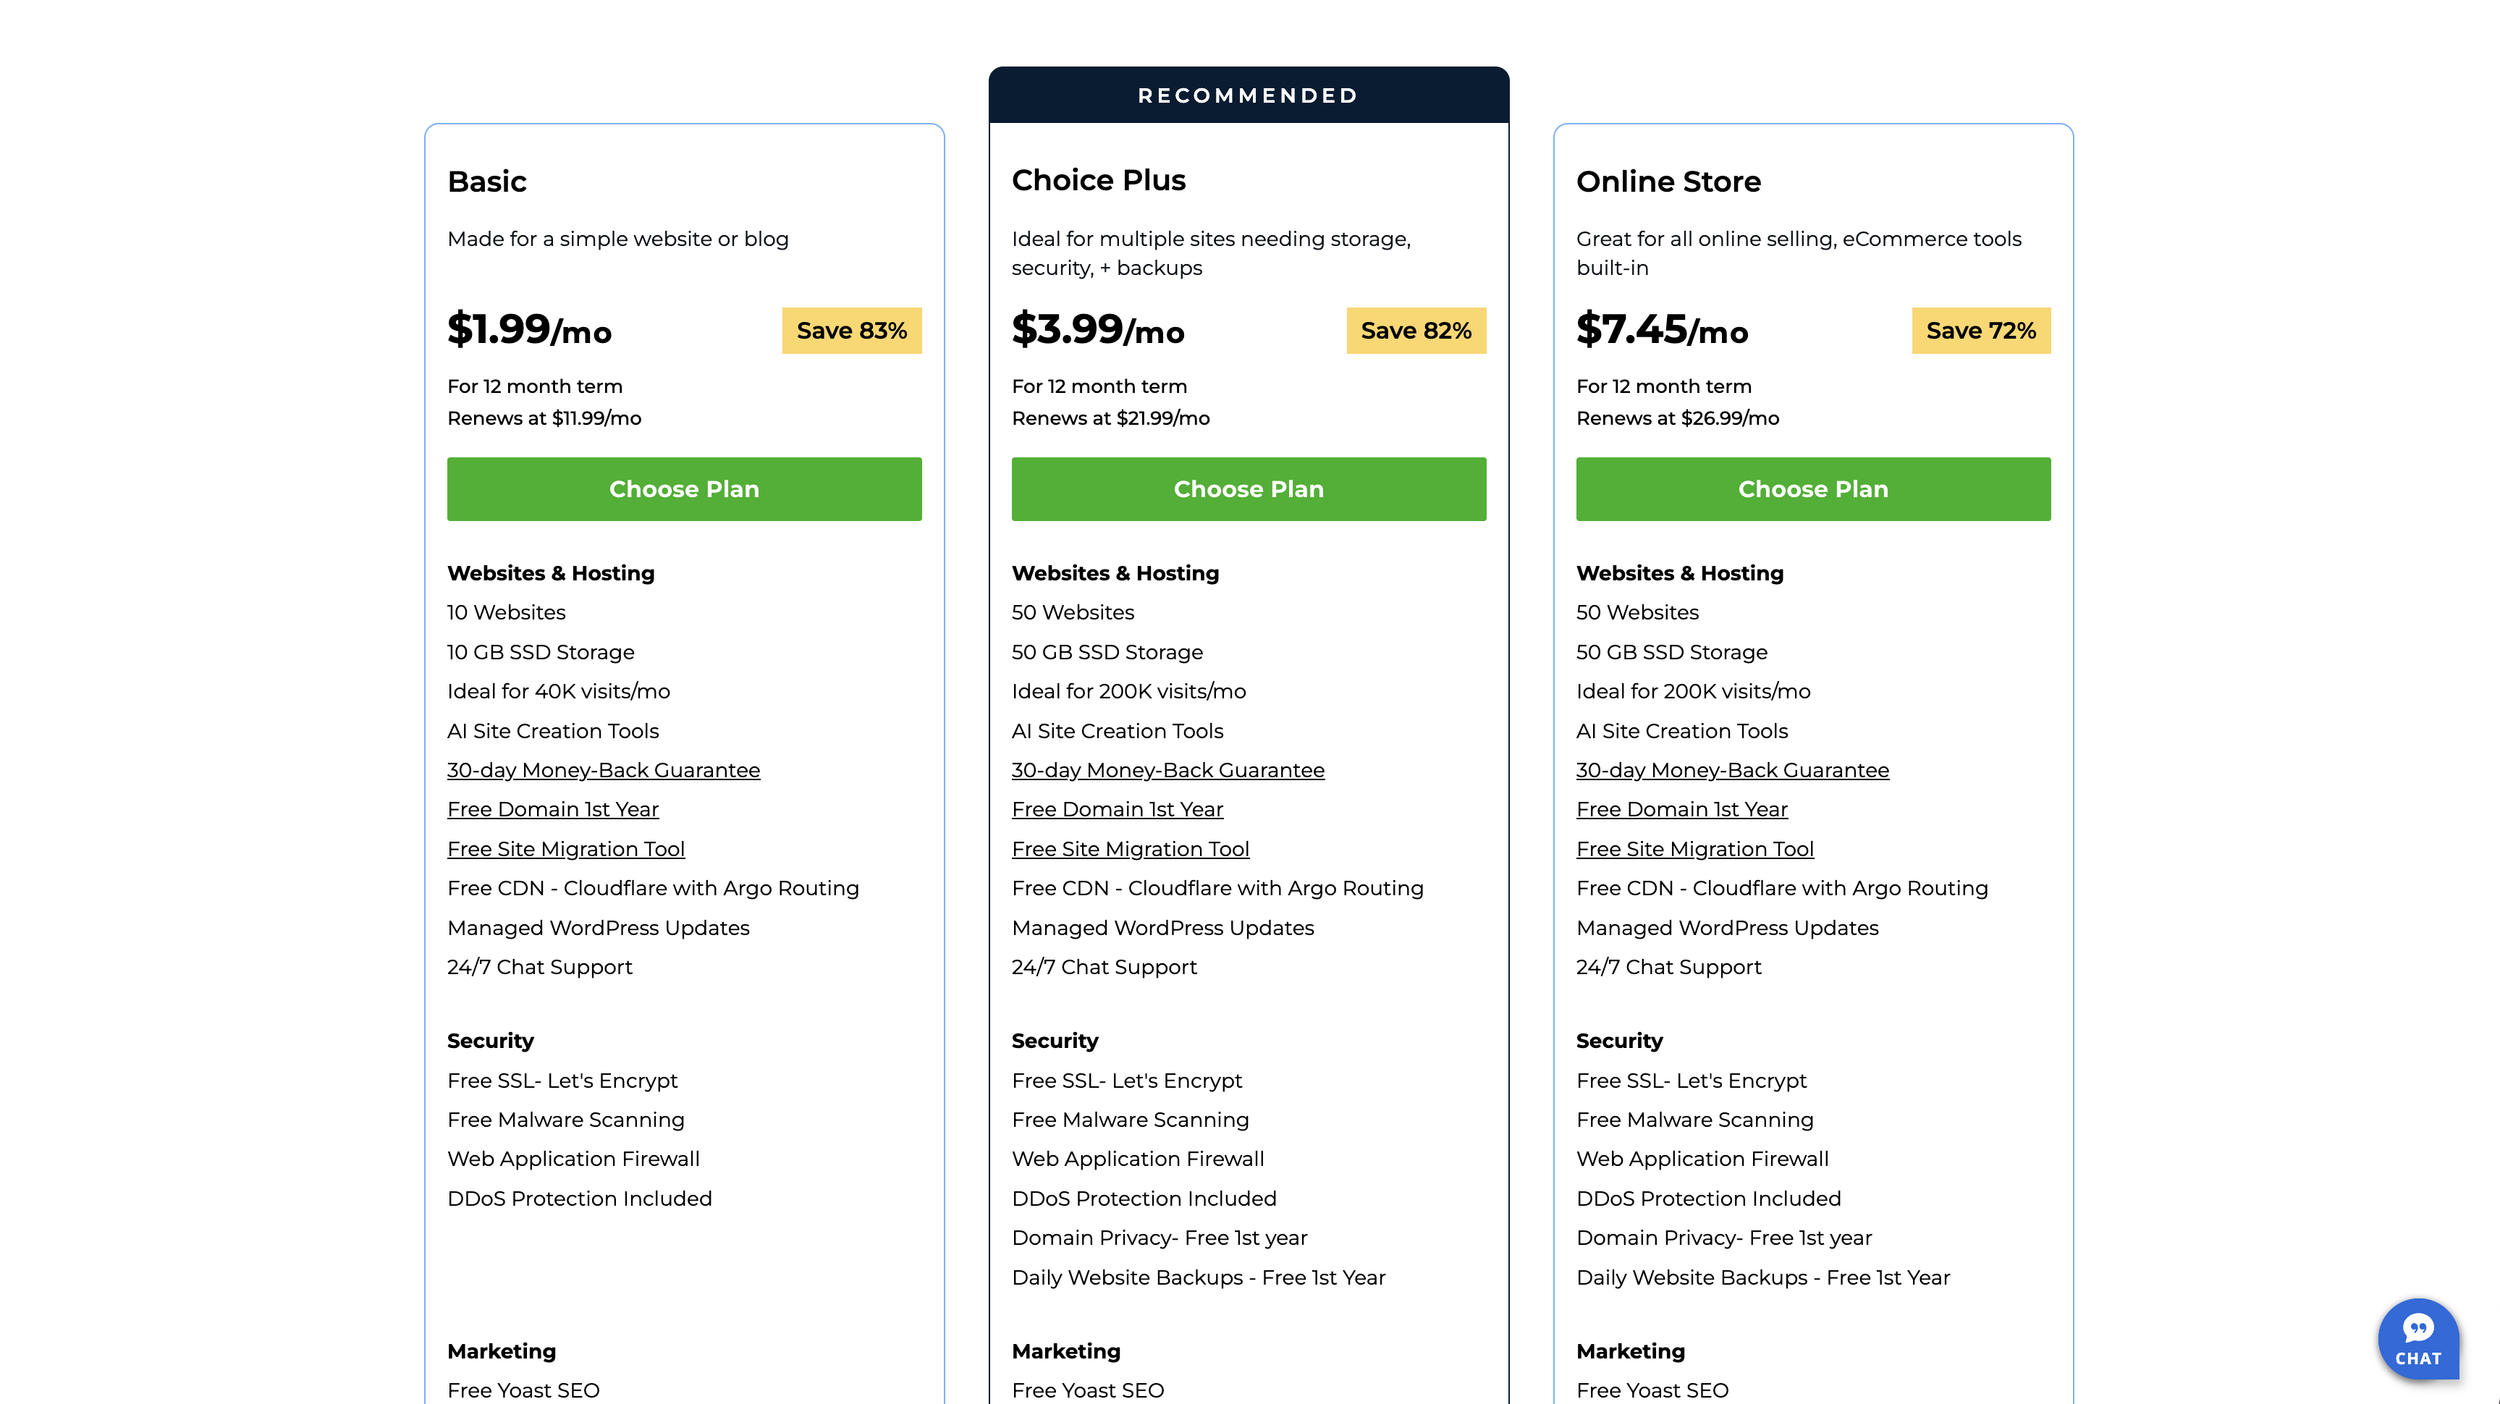
After you click “choose plan” on the plan you want, you might get served a pop-up ad to upgrade your service. I recommend skipping the offer.
After that you are going to be taken to a screen like the one below:

If you know the domain name you want to use, you can enter it in “create a new domain.” If you have already bought it before, enter it in “use a domain you own.”
If you aren’t sure what you want to call your blog right now, that’s fine! You can just click “I’ll create my domain later.” That way, you can start your blog now but name it whenever that perfect name comes to you.
After you fill out any of the options I mentioned above, you should be taken to this screen:

I didn’t add any additional services when I started my blog, but you can if you want to.
If you don’t want to add any extras just click Just go ahead and click “Continue to Checkout”
Here is where you will fill out the information for your account. This is the info you need to access your account, or you would give if you ever had to talk to Bluehost’s tech support team, so remember the email you use.
Also, don’t worry about creating a new email for your website before you sign up for Bluehost, no one will see this email besides you, and you shouldn’t get a bunch of spam emails from Bluehost, so you don’t have to worry about that either.
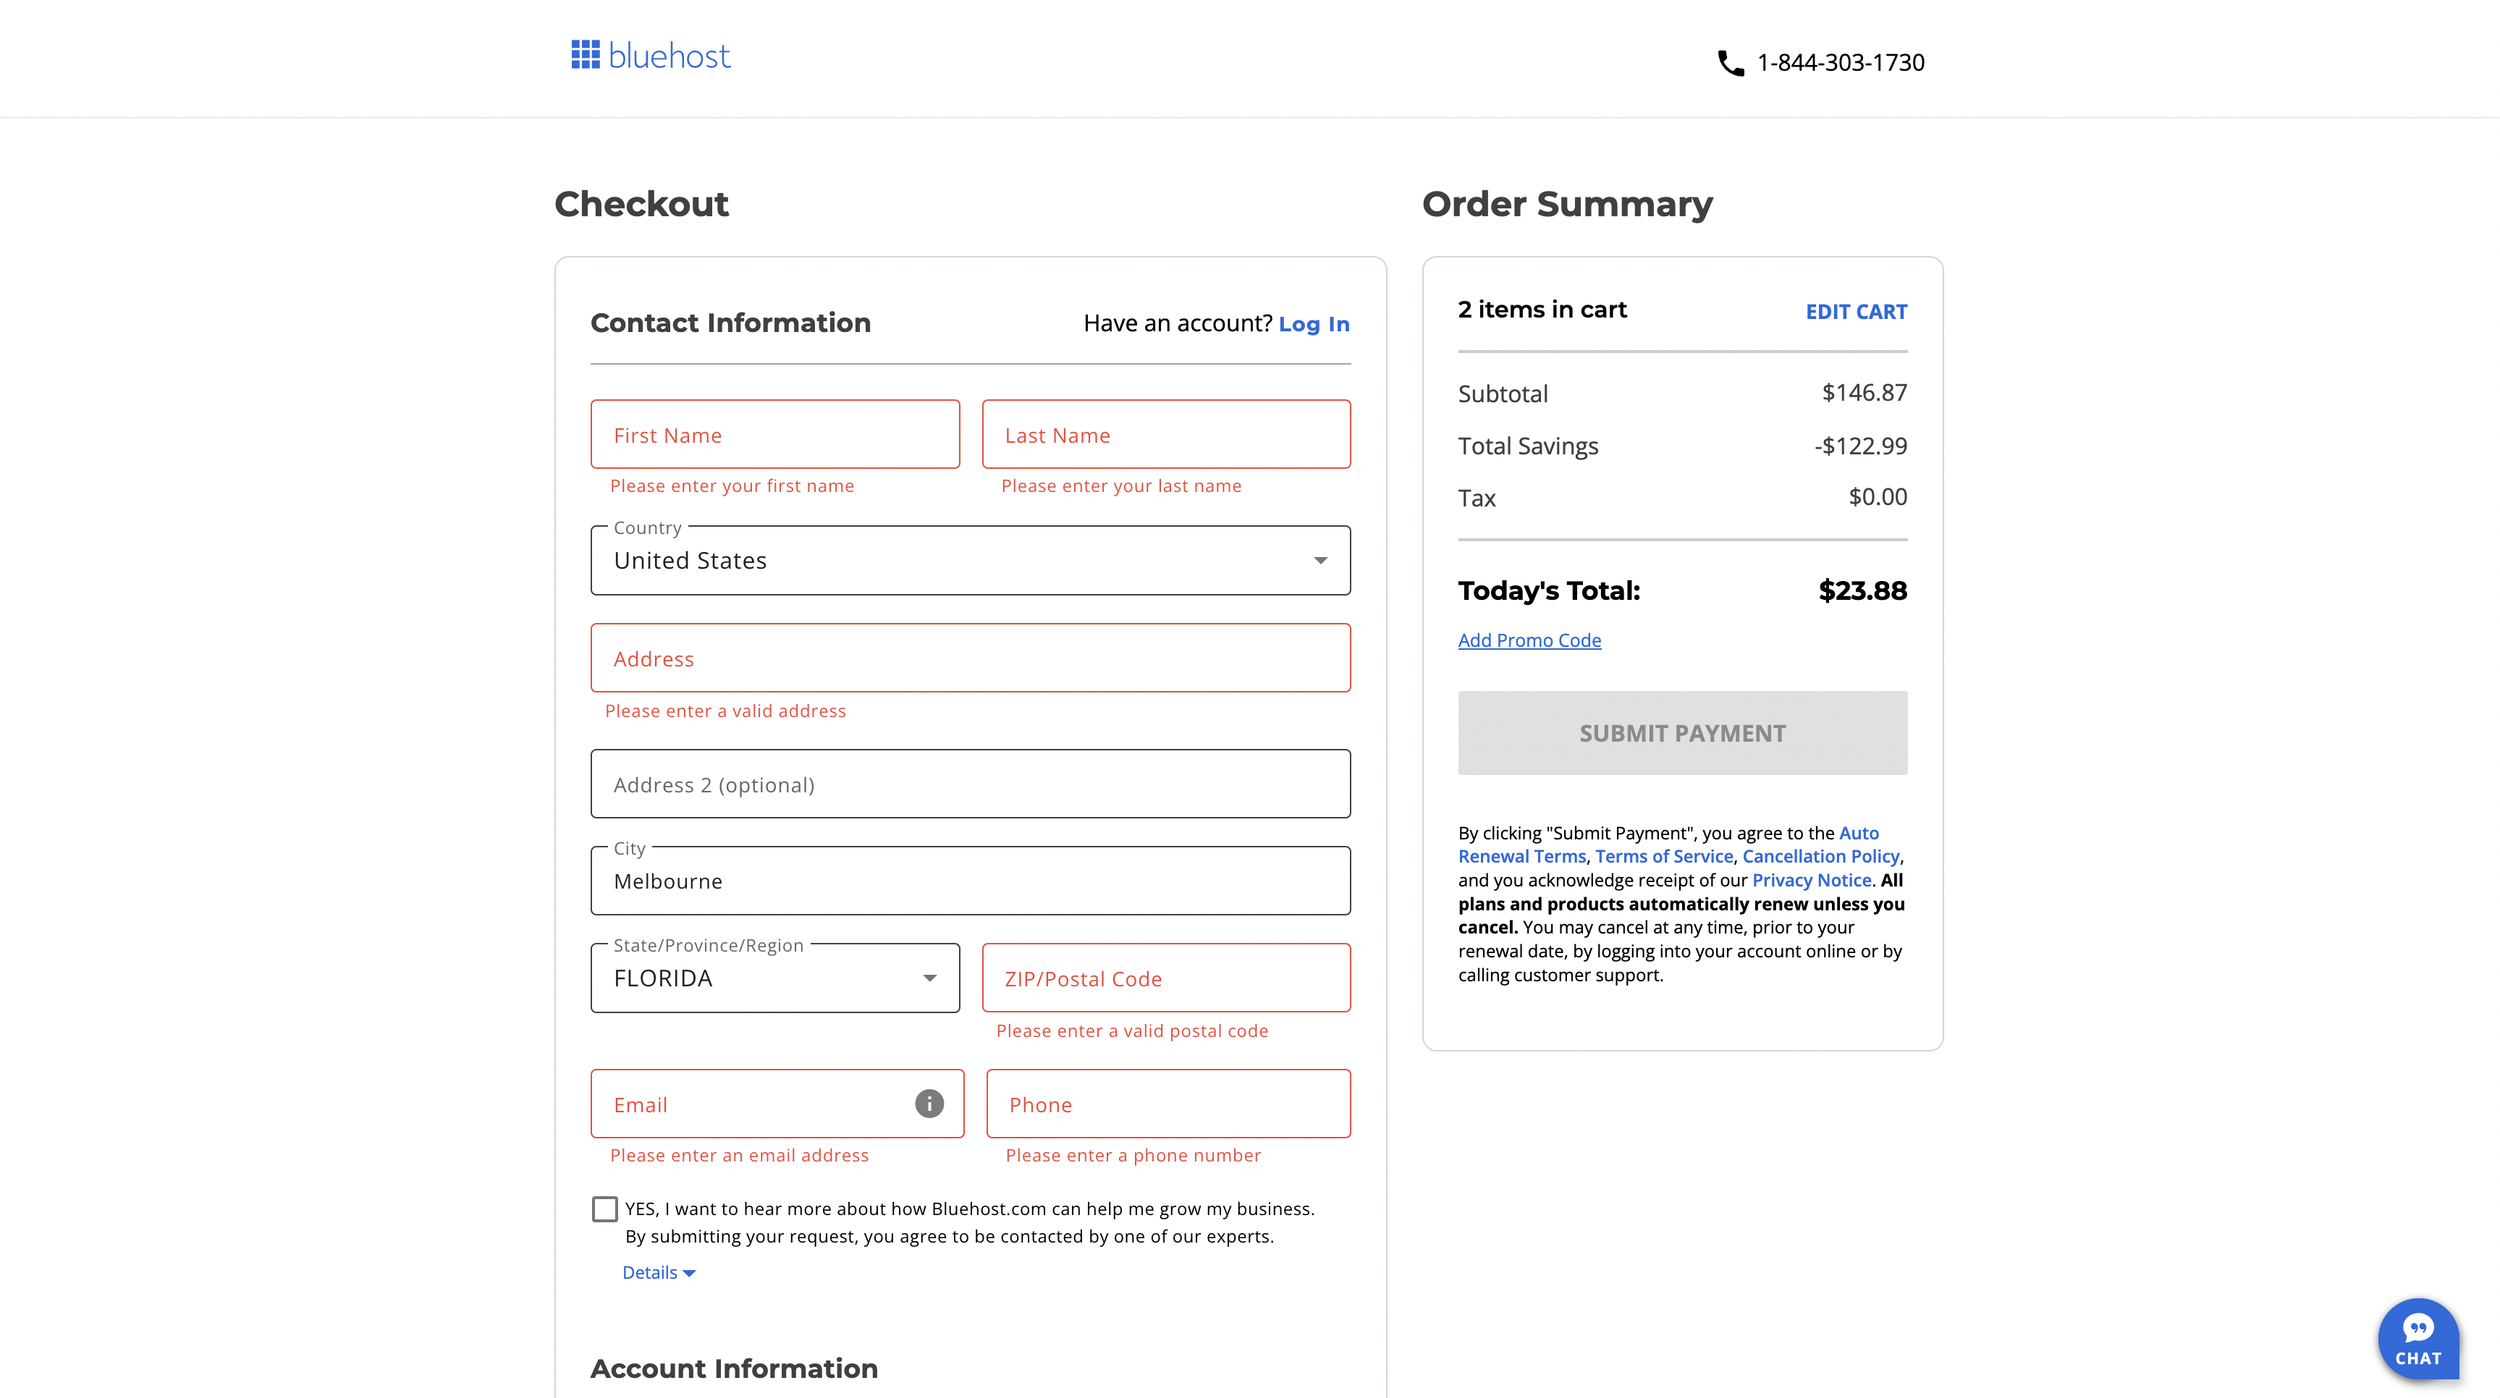
After you choose your plan and package extras, it’s time to pay (yes, it is really just that easy)

After you pay, you will receive a confirmation screen letting you know everything went through.
Woohoo! We almost have a blog. How exciting! Super exciting.
You will be living your dreams in no time flat after this.
Eventually, you should be redirected to your new blog! You’re going to want to click “Log In To WordPress”

Once you login you will be prompted to start your website setup.

At the bottom of the screen, you’ll see “I’m following a tutorial” in small print. Click that to continue.
After you click “I’m following a guide” you’ll be dropped into your new blog!

That’s it! You did it! You’ve officially got a blog, and you can start customizing your website, writing blog posts, and sharing your content!
Congratulations on starting your blog! What's next?
If you're ready to accelerate your blogging journey, I highly recommend grabbing the Launch Your Blog Toolkit for just $47 $27
(only for the next three days).
This toolkit will help you:
Choose the perfect blog name with my exclusive worksheets
Plan your first 10 blog posts (with templates!)
Set up your blog properly with my step-by-step checklist
Start monetizing your blog from day one
Get in the right mindset to succeed long term
Did you start a blog using this course?
I get so excited every time someone uses my guide to start a blog because I know how it can impact your life. I want to give you a shout out if you started a blog using my guide.
So if you did go onto Instagram and post a story saying you started a blog and tag me in it (my username is @ByTaylorStanford) and I'll share it with all of my followers on my story!
What are we going to talk about tomorrow?
Tomorrow, we will talk about how successful bloggers make money (even as Beginners).
PS: If you ever feel stuck or want to do something to your blog but aren't sure how I highly recommend checking out the Blogging resource center. You can type in what you're struggling with, and it will populate articles written by Bluehost and WordPress experts that will most likely help you solve that problem.