
How to Start a Blog
Disclosure: This page contains referral links that I receive compensation from.
Last updated December 14th, 2023
Welcome to my step-by-step guide on how you can start a successful blog from scratch!
Today I’m going to be talking about:
How I got started as a blogger and how much money I make now.
What you need to start a blog today.
How to start a blog step-by-step.
What to do after you start your blog.
This blog post is long, so you might want to copy this link and email it to yourself so you can come back later if you don’t have time now, or you can enter your email below, and I’ll send you this post, plus a whole FREE 6-day course on how to start a profitable blog.
How to Start a Profitable Blog From Scratch Email Course
I want to help your blog succeed (free to you).
If you start a blog using this blog post, you’ll get free one-on-one text coaching with me personally for thirty days. That way, I can personally help you get your blog started on the right foot. I’ll be there whenever you have questions, want feedback, or just want to talk.
All you have to do to get the free one-on-one text coaching is start a blog using this blog post or my free email course, then fill out the form linked at the bottom of this page.
How did I get started blogging?
Before I walk you through how to start a blog, I thought I’d give you a little background on who I am and how I got started blogging.
This all started a few years ago, shortly after marrying my husband. We were poor newlyweds; I’m talking food stamps poor. We couldn’t even afford to go on date nights or stop by Starbucks for coffee, and we didn’t get to go on a honeymoon.
I was in nursing school and working as much as I could. I hated my job, and I hated nursing school. I had just realized I didn’t want to be a nurse, and I felt like my whole life was falling apart because I thought I was stuck becoming a nurse and hating my whole life from that point forward. Eventually, I realized I couldn’t do it anymore, I couldn’t go on hating my life that much and living for the weekends.
So I began using Pinterest and Google to try and find a way to make money from home so we could travel, pay down our debt, save for a house, and save for a baby. I came across people saying, “Try Etsy print on demand,” “Create UGC for brands,” or “Become a virtual assistant,” so I tried it all….
I kid you not when I say after working for months on all the above things, I had made like $9.
I mean, great, that’s $9 extra dollars, but that would buy me like a Starbucks coffee and a chocolate cake pop, not allow me to live out my dreams of being a work-from-home mom and wife.
While I was looking for ways to make money on Pinterest, I eventually started to come across pins like '“How I Made $10,000 Last Month Blogging”, and just like you, I decided to bite the bullet and invest the $50 into starting my own blog to see if that would be the thing that changed my life.
What happened after I started my blog:
I thought the day after I started my blog, I would make $300, and to my surprise, I couldn't even figure out how to make it look good, how bloggers made money, to begin with, or how to install plug-ins. So, needless to say, I certainly wasn't making money.
I got so annoyed with all the bloggers talking about how much money they made blogging because they had inspired me to start a blog, but none of them were actually teaching you how to blog successfully.
During my frustration, I promised myself that If I ever actually figured out how to have a profitable blog, I would help other people who wanted to find a way to make money from home.
By the 7th month of blogging, I had more than replaced my income and quit my job.
By the 14th month, my husband left his job to work on my blog with me.
Now, in 2023, I make over $10,000 every month from my blog, and we get to live in our dream house, drive our dream car, and go on vacations I couldn't have ever dreamed of taking before.
I finally recently decided that it's time to keep my promise to myself and share my best blogging advice to help people like you build blogs that will change your life.
Trust me; there is no reason I'm special. I had no clue what I was doing when I started. YOU'VE GOT THIS!
What do you need to start a blog?
Don’t get scared! Like I just said, you don’t need any special knowledge to blog. You don’t even really need any special technology or a lot of money!
If you don’t know what any of the things on this list are, I’ll explain them all; don’t worry.
To start a blog, you are going to need:
A computer.
An internet connection.
An email address.
A Computer: The reason I say you need a computer is that, for one, it is almost impossible to scroll through this guide and sign up for a blog at the same time. If you are on your phone right now, copy this link, and email it to yourself so you can follow along when you get to your computer.
Also, it is easier to be on a computer when you are working on your blog, in general, writing blog posts or editing your theme, so if you can, I suggest heading over to your computer before getting started if you have one.
When it comes to the other two things I listed, I’m guessing you already have some kind of internet connection and email address, lol. If not, you are going to need those things to get started.
SIDE NOTE: Don’t let your mind get the best of you.
I was hesitant to put the $50 for Bluehost on my credit card to create this blog because that Is a lot of money (especially for a poor newlywed like I was), and I had no idea If I would ever get it back. My blog hasn't failed. It has become a full-time job.
And just like I didn't fail, I know you won't fail! Just to make sure:
I MADE YOU SOMETHING: I created a FREE ( did I mention it’s free?) 6-day email course, which will teach you step-by-step how to set up a blog, install your theme, make a logo, and create monetized content. It will completely kick-start your blogging success.
It is much like this blog post, but it gets sent straight to your email so that you won’t lose it, and you can come back to it anytime.
So, if you want to start a blog right now, follow this very blog post you are reading! However, if you want to start a blog maybe tomorrow or this weekend, follow the email course. Here is what it goes over:
Here is what the FREE email course goes over:
Day 1: How to start a blog from scratch with no experience (& get a free domain name)
Day 2: How to make your blog look ready for readers.
Day 3: How to write killer blog posts & make money from them.
Day 4: Other ways bloggers make money.
Day 5: How to start using social media as a blogger.
Day 6: How to stay motivated & not overwhelmed when it comes to blogging.
How to Start a Profitable Blog From Scratch Email Course
How to start a blog
The way I tell people to start blogs is a little different from most people because I don’t tell people “choose a topic” or “choose a niche” repeatedly because, truthfully, I don’t think it matters.
When I started blogging, I talked about my style and affordable designer dupes (since I couldn’t afford authentic designer pieces), then spoke about simple but tasty food. Eventually, I started talking about travel, and during that time, I also spoke about money-saving tips, and I made money during each of those times.
I say all this because I genuinely think you can make money blogging about anything if you are determined to do so.
If you want to talk about lifestyle topics, do that. If you want to talk about fitness and parenting, you can do that! You can blog about anything!
So the way I will walk you through blogging doesn’t have you start by picking a topic. Instead, I will begin by talking about choosing a name, and then I will walk you through creating your blog.
Let’s get your blog started!
Naming your blog
Don’t stress about naming your blog. You can always change the name or choose the name later! That being said, I do have a few tips that I think might help you pick a name if you want to start your blog and choose the name later.
Tips for coming up with a domain name:
Use a .com people are used to .coms.
Don’t misspell words if you can help it. The reason why is that if you tell someone, you run into, “My website is candy cane dot com.” they won’t think to type in “kandeekayne.com” when they get home.
Use something simple that covers everything you want to talk about. I started with smartandsimplistic.com because that name can cover anything I want to talk about.
Another thing…
If you are going to talk about many things, give your website a name that works with all the topics, for instance:
Naming your website after yourself (That’s how I ended up with TaylorStanford.com.).
Calling it “lifewith(your first or last name here) “.com.
If you just want to talk about one thing, you could consider something like:
“greensforchange.com” if you just want to talk about a plant-based diet.
Can’t come up with a domain name?
Don’t worry about it; you can set up your blog without a domain name and still claim your free domain later. Not having a name for your blog is no reason not to get started because, like I said, you can always claim your free domain name later!
If you are struggling to come up with a domain name, don’t hesitate to click the contact button at the top of the page and reach out to me and we can talk about it!
2. Sign up for Website Hosting
This will be the most intensive part of this guide but don’t worry; it’s super simple! So don’t stress it.
First, you are going to want to click here to open Bluehost in a new window while leaving this post open.
Why I recommend starting a blog this way.
Now you might be wondering why I recommend Bluehost over things like Squarespace, Wix, and Showit. There are a few reasons.
First of all, know that I have personally tried all of them, so I am making this recommendation from personal experience.
The main reasons I recommend Bluehost with WordPress over the other options is because:
It’s the most affordable option. Squarespace, with the features you’ll need to blog, will run you $33/mo (or $276 annually). ShowIt will run you $39/mo (or $408 annually). Wix will run you $27/mo. Bluehost is only $35 for the year.
It is the simplest to set up. With the other options, there are no preset templates. You have to drag in the elements you want and use different elements to get the look you want. With Bluehost and WordPress, it’s much easier to set up, especially because I’m going to walk you through it step-by-step.
You can get started the fastest. With WordPress, once you get started and launch your blog, you can really get started making money right away. You don’t have to individually add each element to your website and drag it to the perfect location. After the initial setup, you can just log in and start creating.
It gives you the most growth opportunities. WordPress integrates with so many things, so it really has the most room for growth. You can simply add in an online shop if you ever want to sell something; you can add in an affiliate link plugin so it remembers all your affiliate links and has them available at a click. With most other website hosts, you’re going to have to upgrade plans to add things, but not with Bluehost.
Now let’s jump back into actually starting your blog.
Those of you using this post to create a blog will get a special discount for my audience only from Bluehost plus; you’ll get my blogging email course for free, so you won’t have to navigate blogging alone.
It normally starts at $7.99 a month, now, for you guys, it starts at only $2.95.
Bluehost has been great every step of the way. Every time I have contacted their customer service, they have been so helpful, and that is the number one reason I continue to recommend them.
What you get with Bluehost: 1 free domain, hosting, and more than 50% off.
Let’s get started! (I’m so excited that you’ve made it this far and are really going to do something that could change your entire life for the better!)
You can click here to get that extra special super deep discount on Bluehost.
By now, in another tab, you should have a page that looks like this:
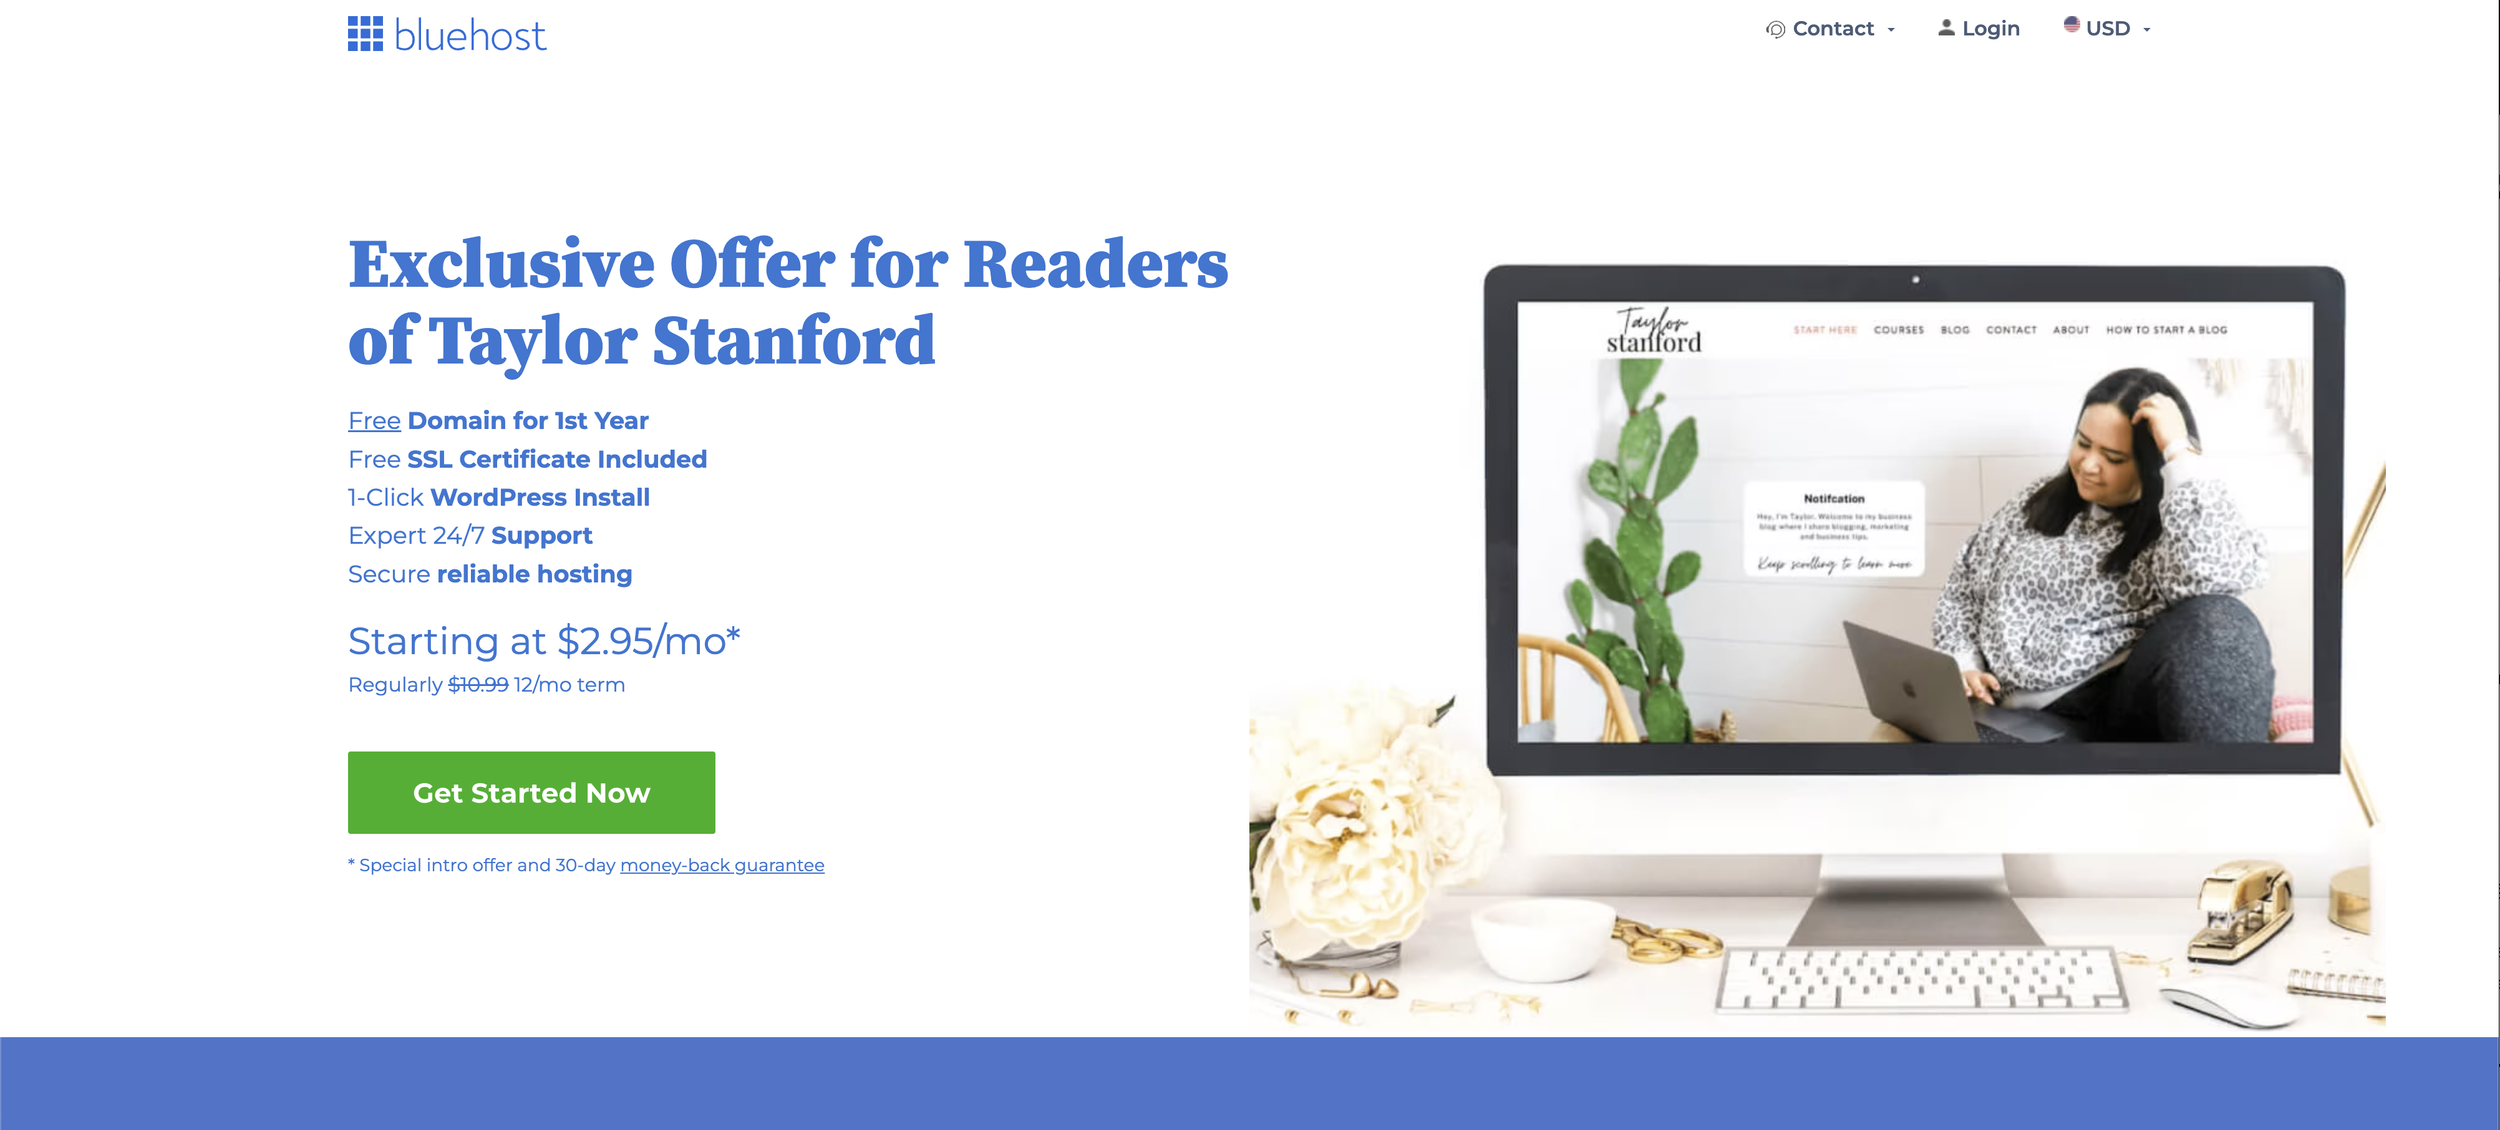
You will go ahead and click “Get started,” which will take you to a page where you can choose a hosting plan. I recommend getting the “basic” plan because it really comes with everything you need to start a profitable blog. It is what I used for my blog.

After you click “select” on the plan you want you are going to be taken to a screen like the one below:

If you know the domain name you want to use, you can enter it in “new domain.” If you already bought it before, enter it in “I have a domain name.”
After you fill out any of the options I mentioned above, you should be taken to this screen:

Here is where you will fill out the information for your account. This is the info you need to access your account, or you would give if you ever had to talk to Bluehost’s tech support team, so remember the email you use.
Also, don’t worry about creating a new email for your website before you sign up for Bluehost, no one will see this email besides you, and you shouldn’t get a bunch of spam emails from Bluehost, so you don’t have to worry about that either.
After you fill out your account information and scroll down, you will see this:

I recommend signing up for 36 months “account plan” because it saves you the most money; however, you can only sign up for 12 months, which is totally fine too!
The only “package extra” I recommend adding is “Domain Privacy Protection” This makes it so that no one can access your personal information. If you decline this the first few days after starting your blog, you may get a lot of phone calls. If you can’t afford Domain Privacy (I couldn’t when I started), just block the calls as they come in so those people cannot call you from that number anymore.
After you choose your plan and package extras, it’s time to pay (yes, it is really just that easy)

After you pay in a few minutes, you will receive a confirmation screen letting you know everything went through. After that, you will want to click “create account” so that you can actually access that blog you just created.

After you click “Create Password,” you will be brought to a screen to create a password for a Bluehost account. This is the password you will use to log into Bluehost to access your blog, so make sure you remember it!
Woohoo! We almost have a blog. How exciting! Super exciting.
You will be living your dreams in no time flat after this.
This is a pretty simple step, so I will just drop the pictures of the steps below, but make sure to write down your password or save it somewhere.

After you click “Create Password,” you will be taken to the following page, where you can finally go login to that blog you just created.
After you click “Log In To WordPress,” it should go to a login page where you can type in all that account info you just picked out.

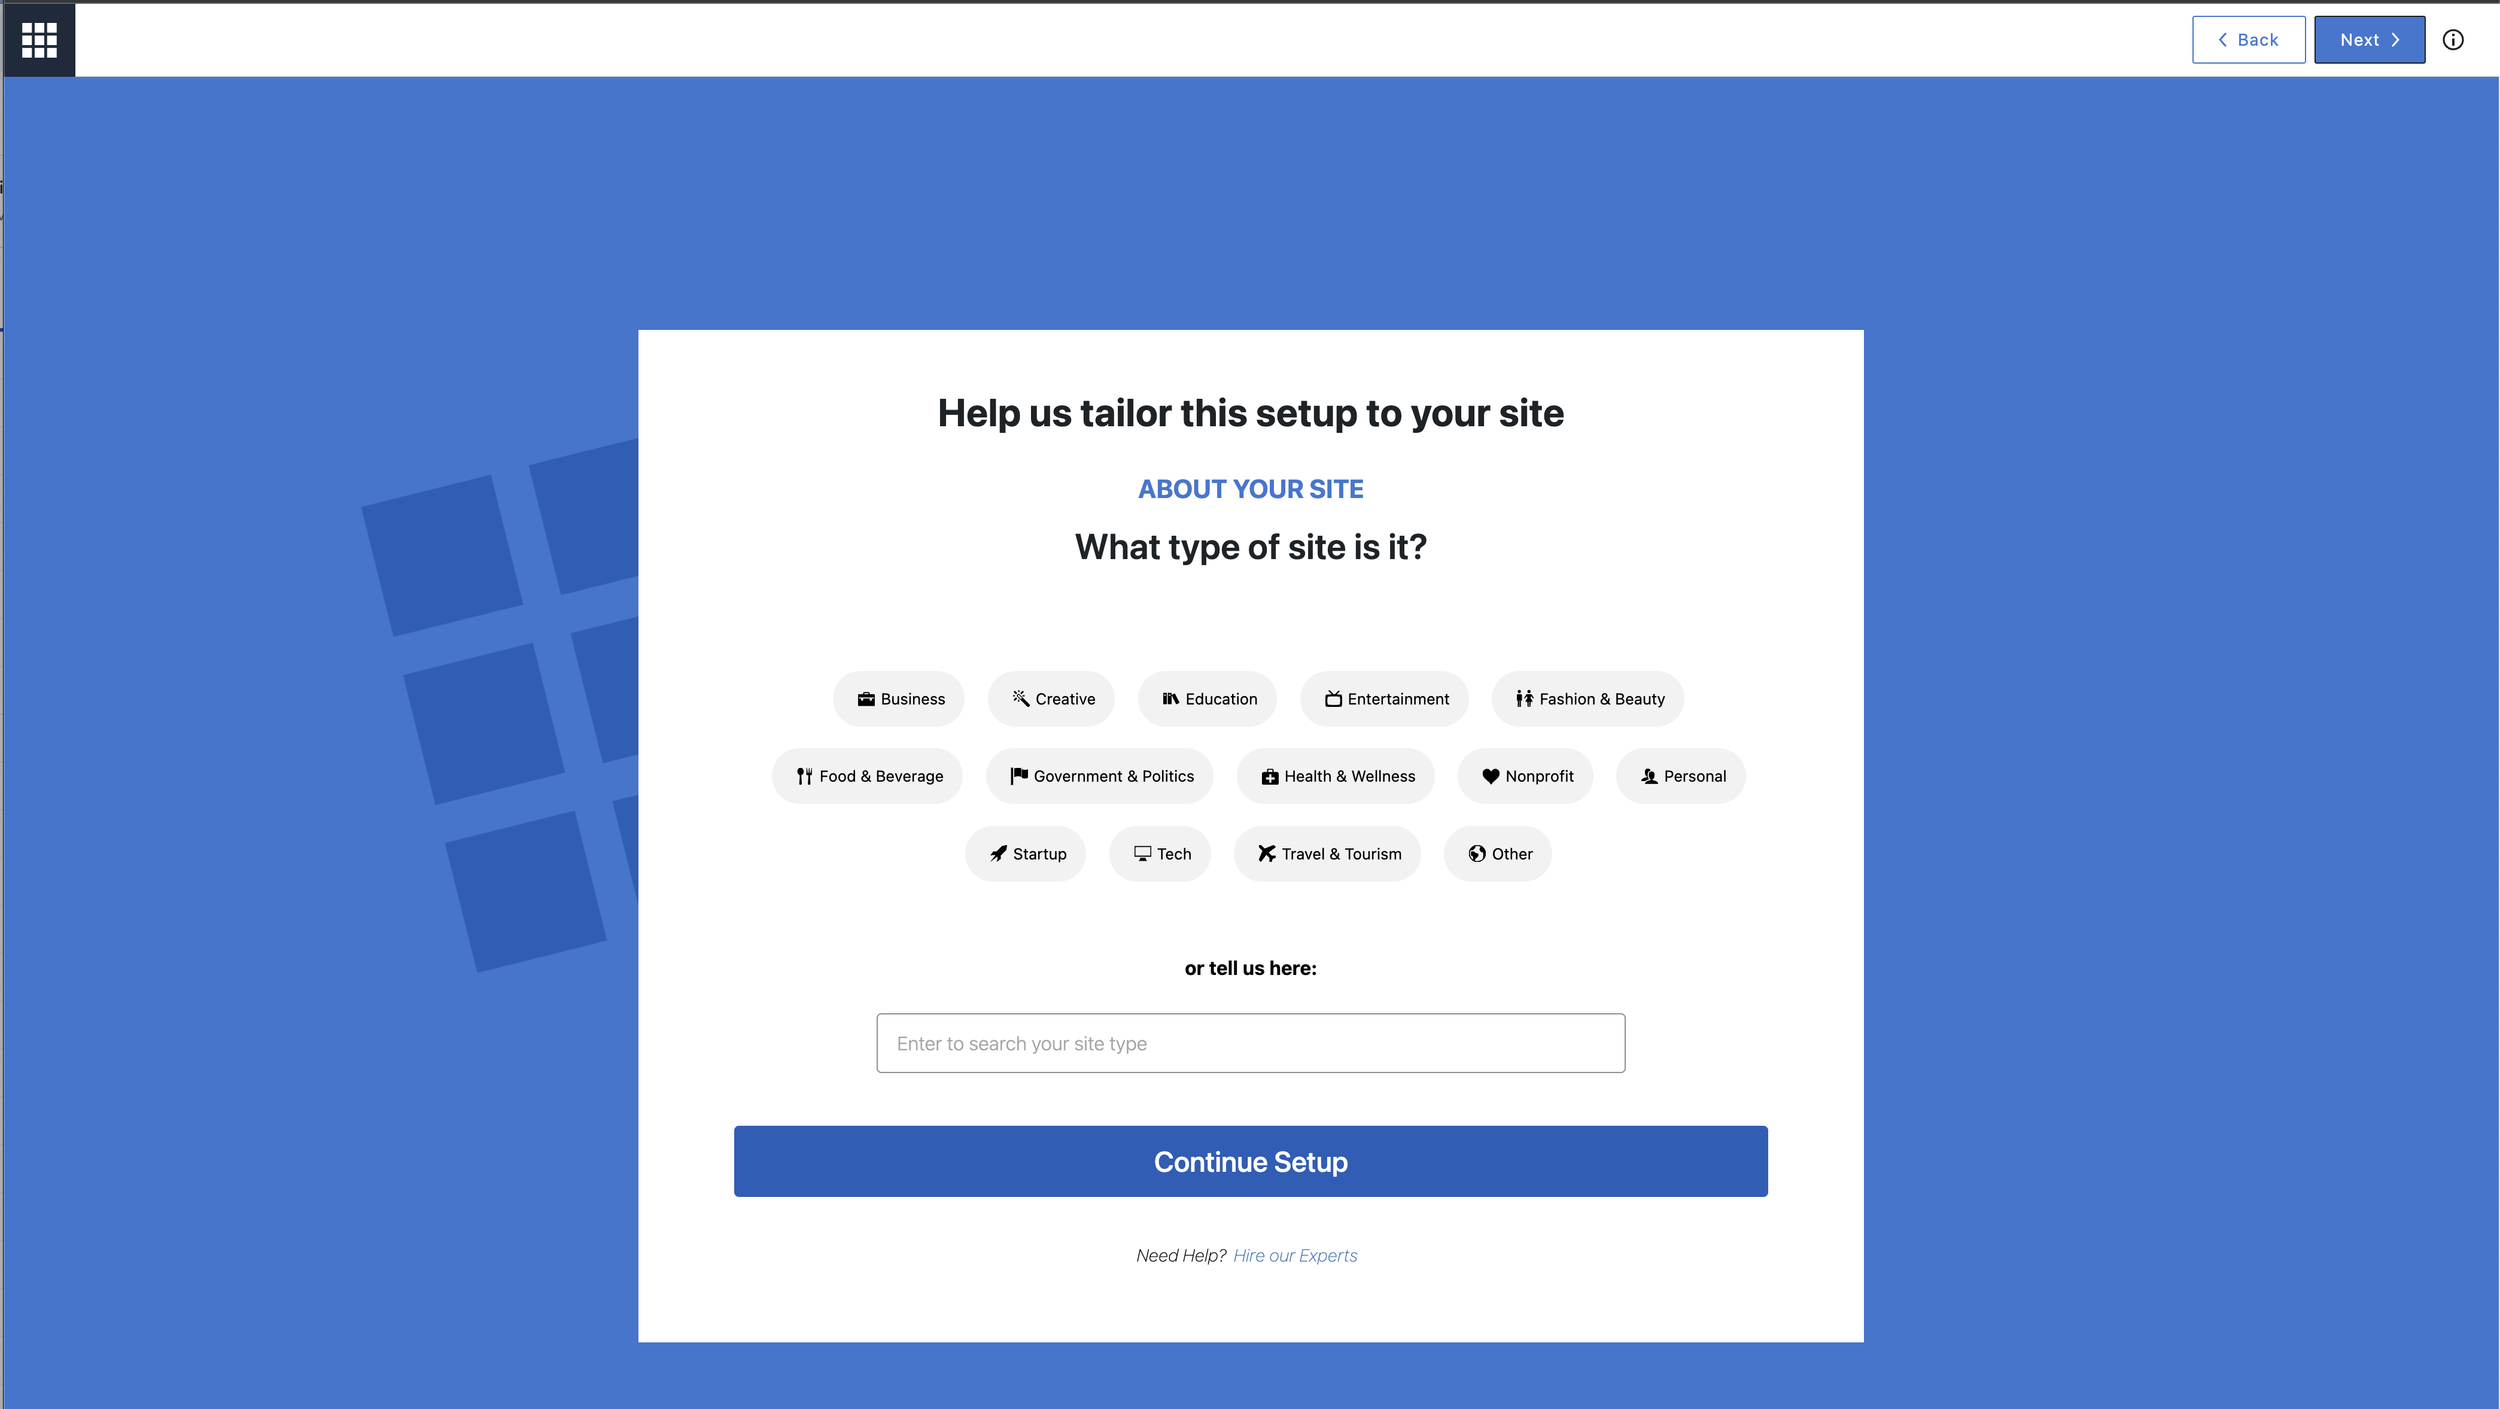
Once you login you will be prompted to start your website setup.

Once you click “Start Setup,” you will be asked a series of questions about what kind of blog you’re starting. I usually just recommend selecting “Personal” and then “blog” down the road.
After you click “personal” and then “continue set up,” eventually, you will be asked what your top priority is for your blog. I usually recommend picking “publishing.” Publishing just means that you will be writing and releasing content on your blog. However, that doesn’t mean you can’t sell on your blog or do design work down the road. How you answer these questions won’t limit what you can do with your blog.

After choosing “Publishing,” you will be prompted to fill in details about your website. Don’t worry if you don’t have a name for your blog yet, a description, or social media accounts. You can absolutely change these down the line. Since I did know what my blog was going to be called and what I was going to share, I went ahead and filled out my information. Once you’re done, or If you don’t know, you can just click “next.”

After you click “Next,” you will be walked through Bluehost’s design setup for your blog. I always just skip this part by clicking “next,” “next,” and “next,” always just selecting the first option. I do this because I don’t like their website builder. It’s a bit too complex and clunky for my liking (maybe that’s just because I’m not very tech-savvy), and I choose just to upload a theme after I finish the signup process.

Once you click “next” after the page layouts selection, you’ll be asked about plugins. I recommend checking yes to JetPack, WP Forms, Monster Insights, and Yoast. I recommend not selecting Creative Email and Optin Monster.

After you click next, you’re going to be prompted to “complete setup” which means you’re basically done!

From there, you'll be brought to the main WordPress page. You'll see this page every time you log in to your Bluehost account and click “WordPress.” This is where you’ll go to write blog posts, add pages, and add design elements to your blog.

That’s it! You did it! You’ve officially got a blog, and you can start customizing your website, writing blog posts, and sharing your content!
If you started a blog using this guide and want my help for free, whenever you have questions, you can sign up for free text coaching below using the form.
If you also joined my free six-day email course tomorrow, we will go through clearing off your homepage (setting up the plug-ins) and getting your blog looking nice for readers.
If you ever feel stuck or want to do something to your blog but aren’t sure how I highly recommend checking out the Blogging resource center. You can type in what you’re struggling with, and it will populate articles written by Bluehost and WordPress experts that will most likely help you solve that problem.
If that doesn’t work, there are even more free resources on Google; just search whatever problem you’re having followed by WordPress, like “How to add a contact page in WordPress” That’s been my strategy since I started my blog. I’ve been able to find out everything I needed to know to build a now six-figure blog.
Did you start a blog using this guide?
If you did, you get up for free one-on-one text coaching with me!
If you started a blog using this guide, I’m so excited because now we are twins with how we started our blogs but also because that means that you get 30 days of free one-on-one text coaching with me personally!
That means for the next 30 days after you sign up, you can text me anytime you have blogging questions or want feedback on something.
This way, I can personally help you get your blog started on the right foot.
To get 30 Days of free one-on-one text coaching, all you have to do is click the “form for free text coaching” button below and fill out the form after signing up for a blog using this guide.
After you fill out the form, someone from my team will review your blog to make sure you actually got started using my guide, and then we will send over my cell number, and we can get started!
From there, you’ll be able to text me any time you have questions about your blog, social media, or marketing for the next 30 days.
What’s next?
Next, I’d recommend taking the free course I give to anyone who starts a blog using this guide. All you have to do is fill out the form below this section, and I’ll send over the course within one business day.
I recommend starting with lesson 3 because you’ve already completed lessons one and two by starting a blog. Lesson three will help you customize your website to make it personalized to you. From there, it will help you begin to write blog posts that will actually engage people. Then It will help you start to monetize your website.
If you have any other questions, don’t hesitate to reach out!
Form for to get my 6-day blogging email course for free!
Thanks so much for listening to me / reading me go on and on about how to start a blog. I know this post was long, but blogging has 1000% changed my life for the better, and I love sharing it with people.
Especially when it is currently more than 50% off to start a blog.
Here is what the FREE email course goes over:
Day 1: How to start a blog from scratch with no experience (& get a free domain name)
Day 2: How to make your blog look ready for readers.
Day 3: How to write killer blog posts & make money from them.
Day 4: Other ways bloggers make money.
Day 5: How to start using social media as a blogger.
Day 6: How to stay motivated & not overwhelmed when it comes to blogging.
Free How to Start a Profitable Blog Course
Learn how to start a profitable blog from scratch in this FREE 6-day email course. Trust me; you won't need any prior blogging knowledge.
That’s it! You created your blog. Can you believe it was really that easy?
THE OTHER PARTS OF THE SERIES!
You are ready for part two; which you can get byclicking here. We will be talking about how to pick and install a theme!
Here are the links for all of the series:
Part 2: Choosing and Installing Your First Theme (for free)
Part 3: Creating Your First Logo (for free)
Part 4: Plugins You Need For Your Blog (free)
